
ServiceDesk - How to perform Deep Archive-Related tasks
The Deep Archive is a process that reduces file sizes in the operational ServiceDesk data. This can speed up performance and avoid indexing issues.
💡 Please note the following before attempting to do a deep archive:
The Deep Archive Process is designed to reduce the size of the Archived JobRecords and Archived Special Order Part files to improve the time it takes for ServiceDesk processes to access these files to complete.
Deep Archival of the Archived JobRecords and/or the Special Order Parts files will require using the ServiceDesk Master Password.
Access to the deep-archived JobRecords or Special Order Parts requires a specially modified version of ServiceDesk; instructions for setting up this modified version are found below.
Always back up your files before initiating any of the deep archive processes.
Process to initiate the Deep Archive of the Special Order parts
Make a backup of the following files from your sd/NetData folder.
PrtsPndngVcncyForRtrn.csv
PrtsPrcs
PrtsPrcs.Arc
PrtsPrcs.Log
PrtsPrcsSqncFl
PrtsRqst
PrtsRqst.Arc
PrtsRqst.Log
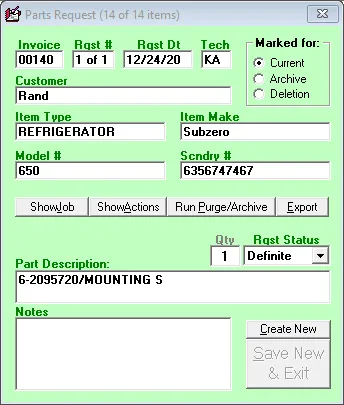
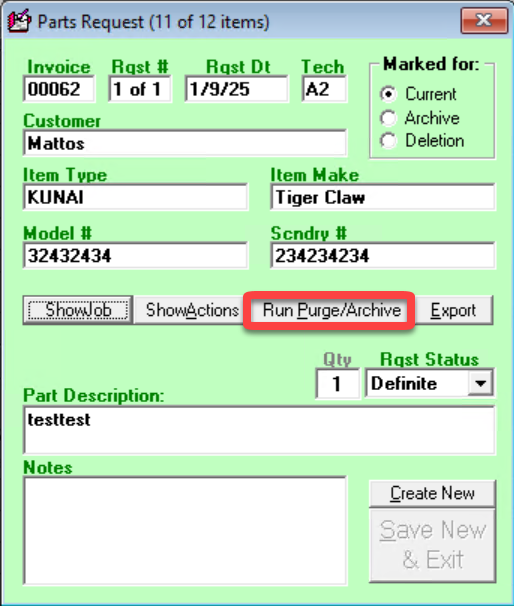
Open the Parts Request screen (Alt+F8)
Right-click on the 'Run Purge/Archive' button.
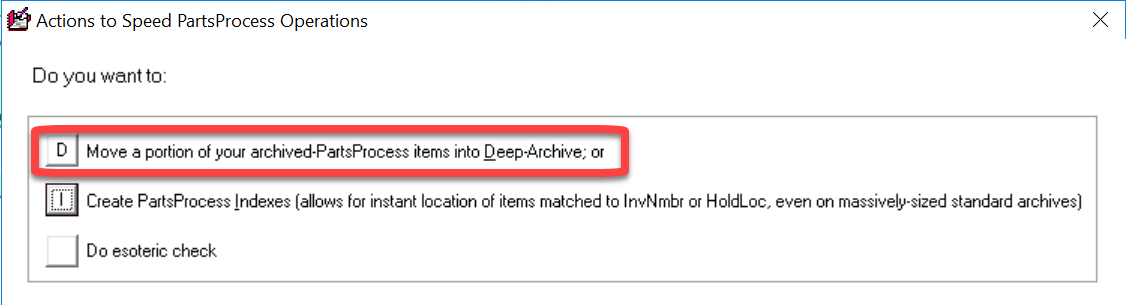
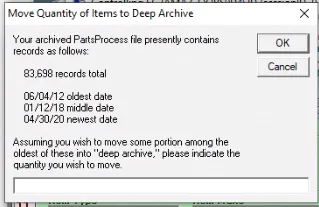
Choose option D: "Move a portion of your Archived-PartsProcess items into Deep-Archive."
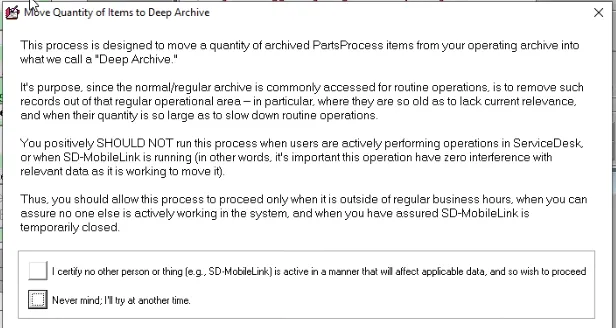
Please make sure that no other users or utilities are accessing data.
Enter the number of records you would like to remove.

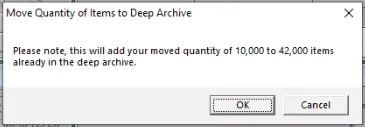
You can rerun the process to remove more entries. It is better to start small!
Click "OK" to continue the process.

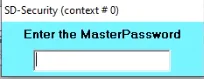
Enter the MasterPassword.

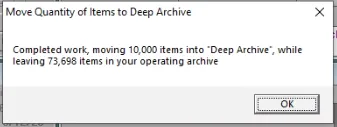
Review the work, then click “OK.”

Process to initiate the Deep Archive of the WIP files
Make a backup of the following files from your sd/NetData folder.
WipFile.4P3.Dat
WipFile.4P3.arc
WipFile.4P3.log
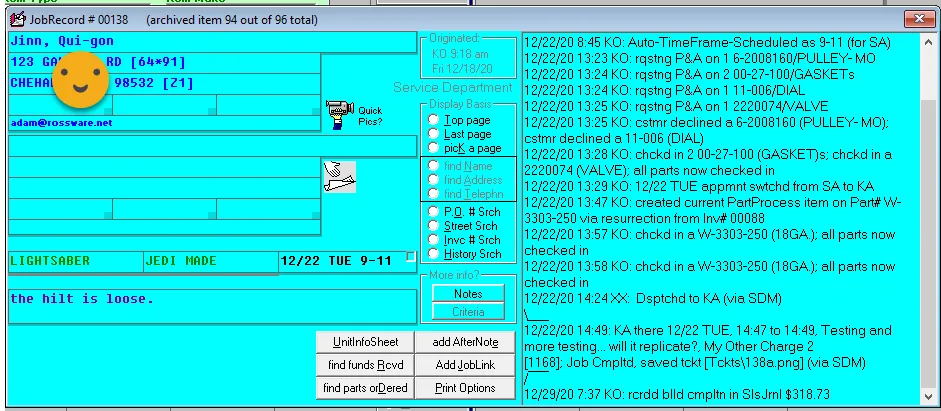
Open Archived JobRecords.
Use the key command ALT+C to invoke the Deep Archive.
Please make sure that no other users or utilities are accessing data.

Enter the number of records you would like to remove.
You can rerun the process to remove more entries if necessary. It is better to start small.
Click "OK" to continue the process.
Enter the MasterPassword.
Review the work, then click "OK."
Process to create a shortcut for the Deep Archive-Accessible ServiceDesk
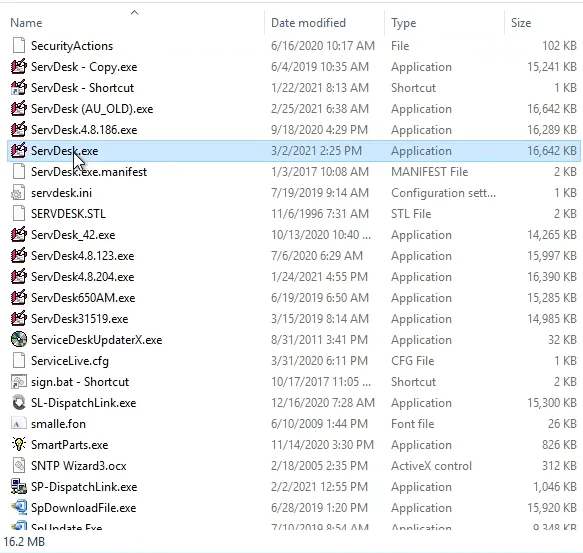
Locate the "ServDesk" application in the SD folder.
Right-click the "ServDesk" application file to bring up a menu.
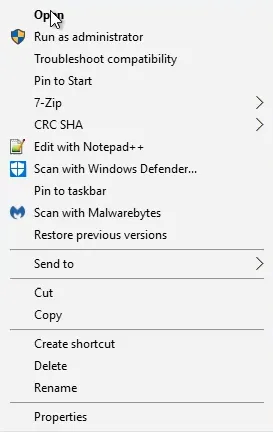
Hover the mouse over the "Send to" option to bring up the sub-menu.
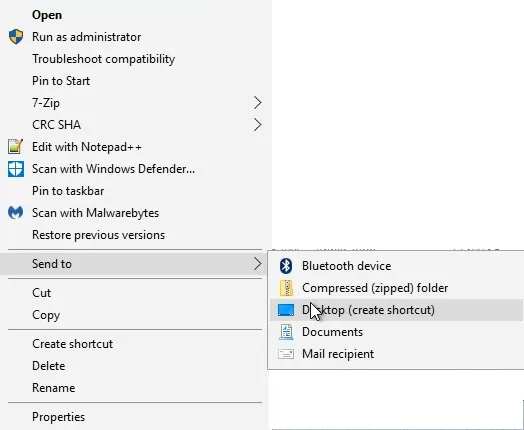
Select the "Desktop (create shortcut)" option.
Locate the newly created "ServDesk.exe shortcut" on the desktop.
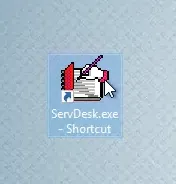
Right-click the "ServDesk.exe shortcut" to open the menu.
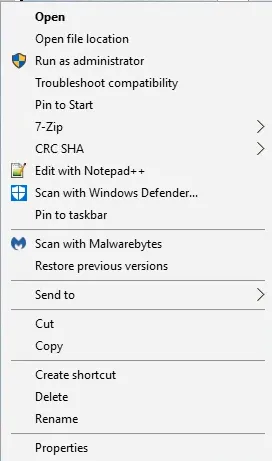
Select "Properties" from the menu.
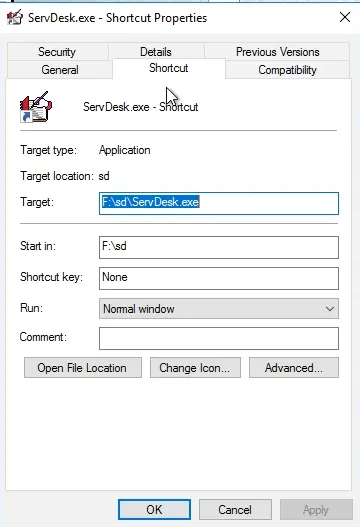
Make sure you have the "Shortcut" tab selected.
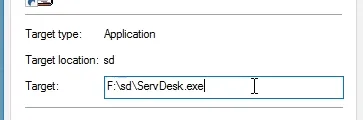
Click in the text box to edit the target location.
Add a space and the string of text "UseDeepArchiveFiles."
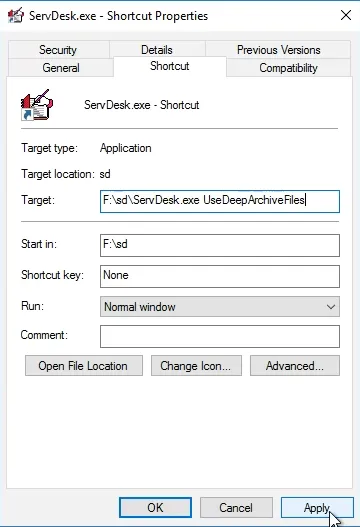
This is case-sensitive, so you must enter exactly as above.
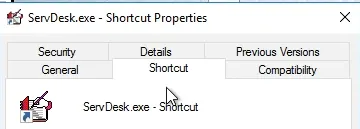
Select the "General" Tab.
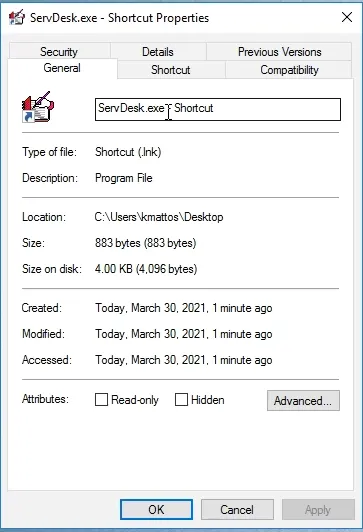
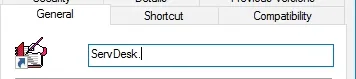
Click in the text box to edit the shortcut label.
Edit the title to indicate this is used for viewing the Deep Archive.
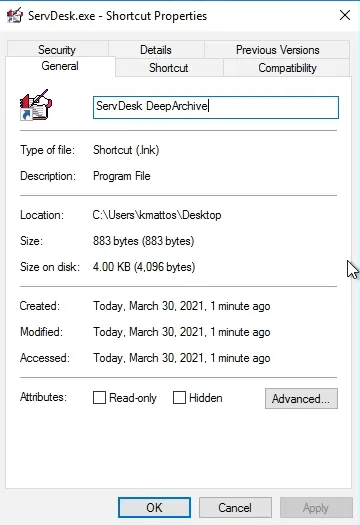
We recommend the title "ServDesk DeepArchive"
Select "Apply" to save your changes.
Verify the shortcut is correct.
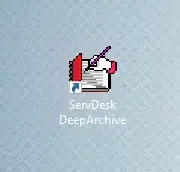
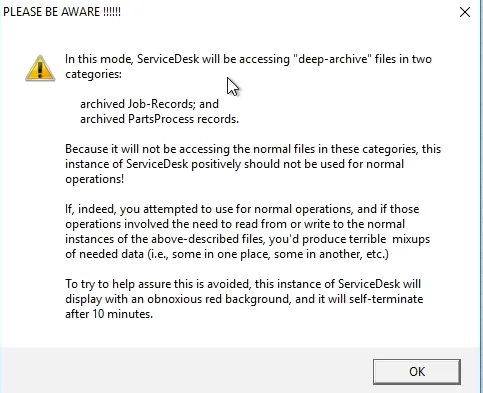
Double-click the shortcut to verify that you get the DeepArchive message.
Additional resources
This article encapsulates the following work diary entries into a single, easy-to-understand and use process.
https://help.rossware.com/en/articles/842240#deep_archive_now_available_for_jobrecords
https://help.rossware.com/en/articles/842176#access_to_deep_archive_files