Inventory Import
To perform the Inventory Import, please prepare an Excel-based spreadsheet document with the inventory information you will import. The Excel document must be set up correctly. Here are some points to consider.
Each row lists a single part. If you have five of a part, there should be five rows with that information.
List part numbers in a column.
List part descriptions in a column.
TIP! Each row lists a single part. If you have five of a part, there should be five rows with that information.
TIP! Please ensure your Excel-based spreadsheet is sorted by PART NUMBER!
Importing inventory via Inventory Control and Maintenance
In steps 8-20, you must match the columns in your file to ServiceDesk fields. The program will ask for column numbers:
Column A is 1, B is 2, C is 3, etc.
If you don't have data for a requested field, enter a '0.'
You can follow these steps to import your inventory using an Excel-based spreadsheet.
1. Press F10 to open the Inventory Control and Maintenance screen.
2. Press CTRL + I to invoke the Inventory Import process.
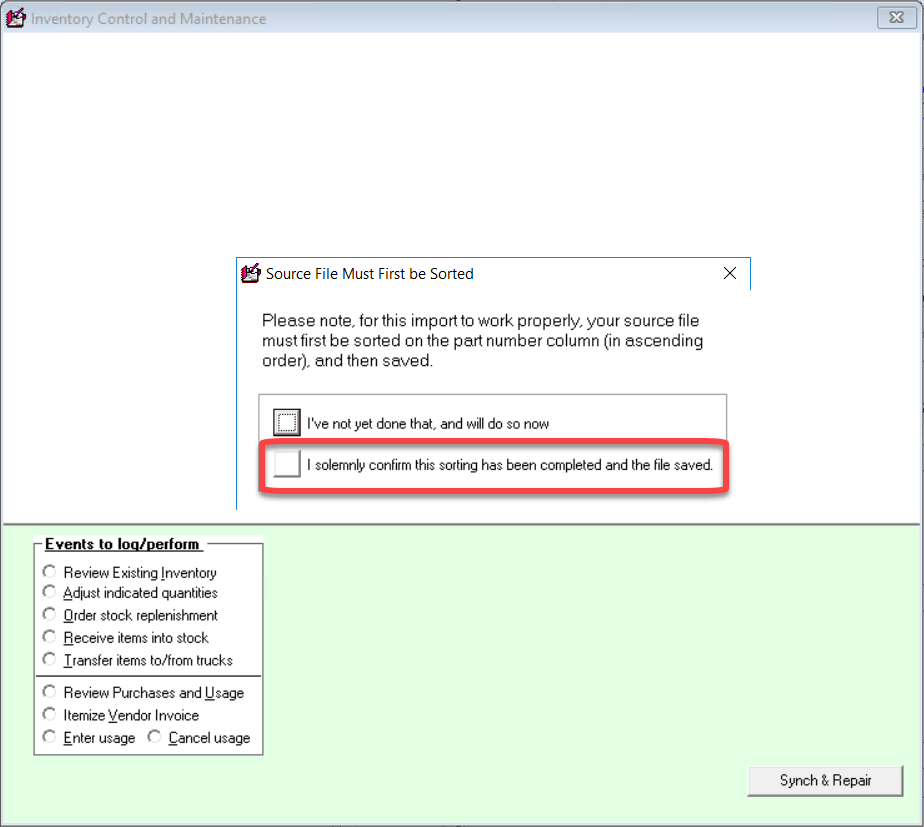
3. Select 'I solemnly confirm this sorting has been completed and the file saved' if that statement is true.
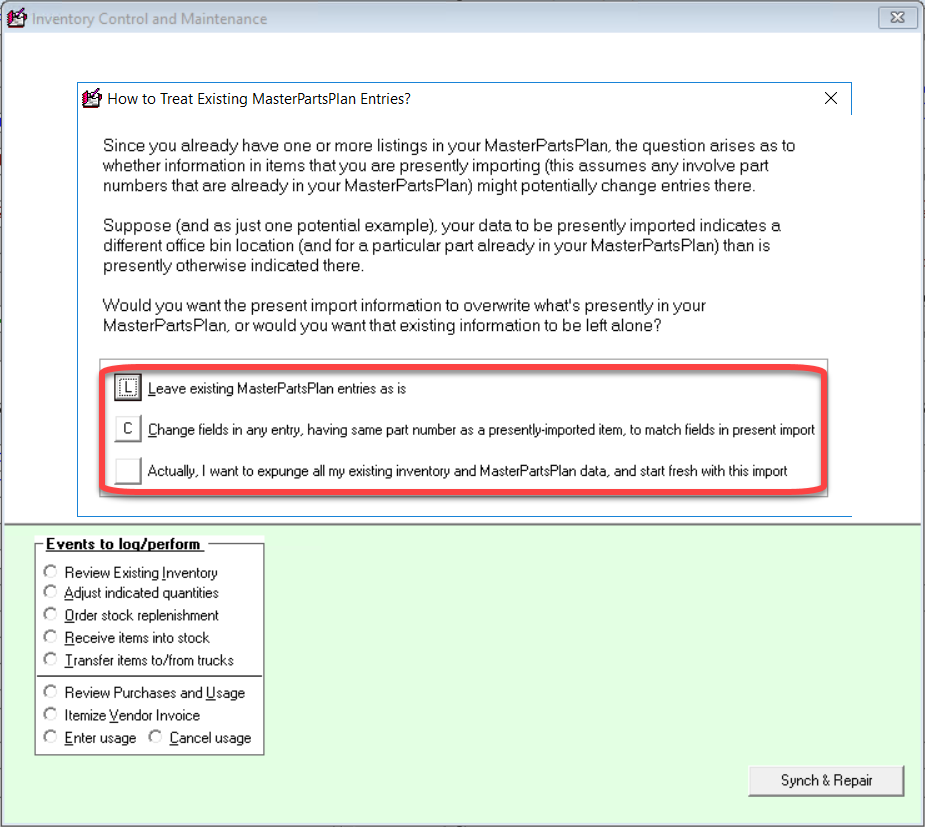
4. Read the following message carefully and select the best option for your situation.
Leave the existing MasterParts Plan as is.
Update entries where the part number matches what is being imported.
Erase your entire MasterParts Plan and rebuild it using only the imported information.
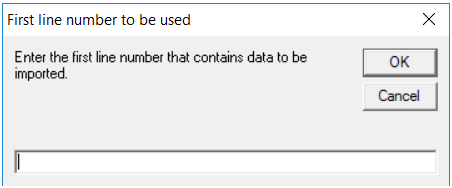
5. Enter the first line number to be used. For example, you would enter '2" if your file has a header row and the first line containing parts data is the second row.
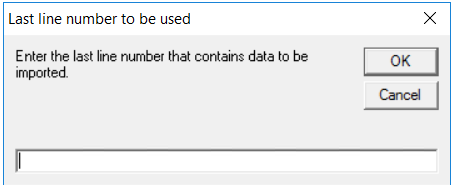
6. Enter the last line number to be used.
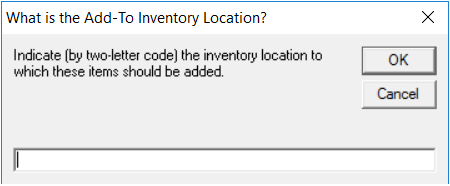
7. Using a two-letter code, indicate which inventory location to add items.
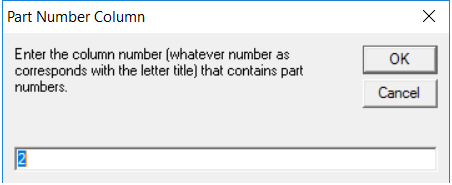
8. Enter the column number that contains part numbers. For example, you would enter '2' if your part numbers are in column B. Press Enter or click 'OK.'
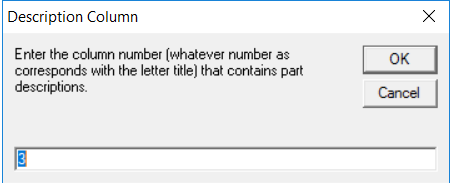
9. Enter the column number that contains part descriptions. For example, you would enter '3' if your part numbers are in column C. Press Enter or click 'OK.'
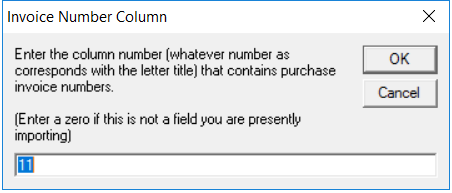
10. Enter the column number that contains purchase invoice numbers. For example, you would enter '4' if your part numbers are in column D. Enter a zero if this is not a field you are presently importing. Press Enter or click 'OK.'
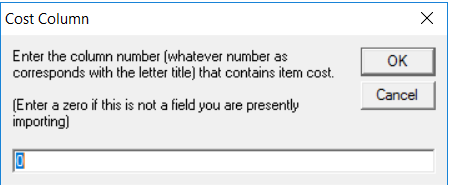
11. Enter the column number that contains the part cost. For example, you would enter '5' if your part numbers are in column E. Enter a zero if this is not a field you are presently importing. Press Enter or click 'OK.'
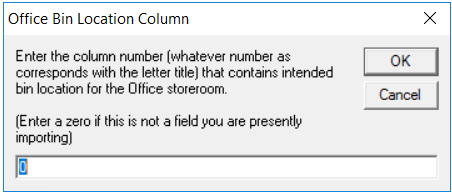
12. Enter the column number containing the intended office storeroom bin location. For example, you would enter '6' if your part numbers are in column F. Enter a zero if this is not a field you are presently importing. Press Enter or click 'OK.'
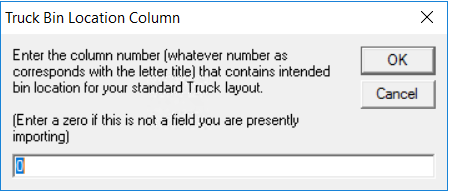
13. Enter the column number containing the intended truck bin location. For example, you would enter '7' if your part numbers are in column G. Enter a zero if this is not a field you are presently importing. Press Enter or click 'OK.'
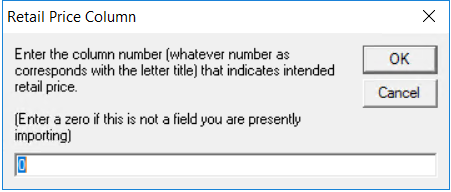
14. Enter the column number containing the retail price. For example, you would enter '8' if your part numbers are in column H. Enter a zero if this is not a field you are presently importing. Press Enter or click 'OK.'
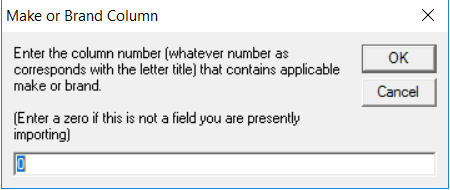
15. Enter the column number containing the make or brand. For example, you would enter '9' if your part numbers are in column I. Enter a zero if this is not a field you are presently importing. Press Enter or click 'OK.'.
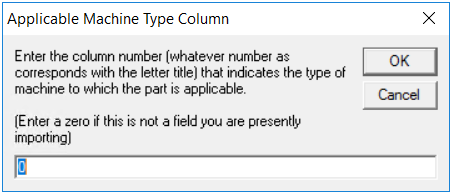
16. Enter the column number containing the machine type. For example, you would enter '10' if your part numbers are in column J. Enter a zero if this is not a field you are presently importing. Press Enter or click 'OK.'
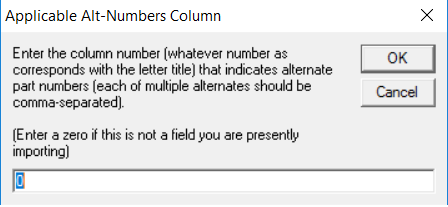
17. Enter the column number containing the alternate part number. For example, you would enter '11' if your part numbers are in column K. Enter a zero if this is not a field you are presently importing. Press Enter or click 'OK.'
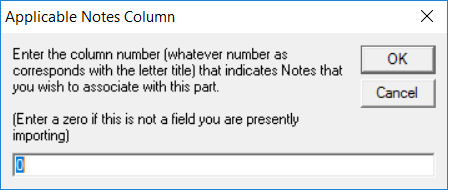
18. Enter the column number containing applicable notes. For example, you would enter '12' if your part numbers are in column L. Enter a zero if this is not a field you are presently importing. Press Enter or click 'OK.'
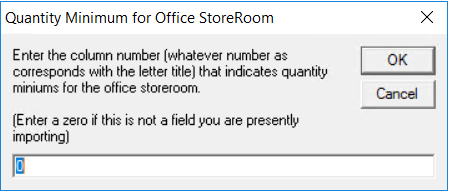
19. Enter the column number containing the quantity minimum for the office storeroom. For example, you would enter '13' if your part numbers are in column M. Enter a zero if this is not a field you are presently importing. Press Enter or click 'OK.'
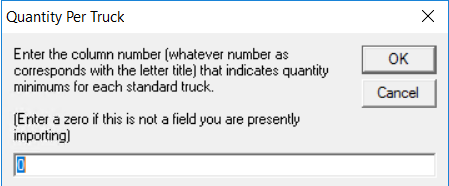
20. Enter the column number containing the quantity minimum for the trucks. For example, you would enter '14' if your part numbers are in column N. Enter a zero if this is not a field you are presently importing. Press Enter or click 'OK.'
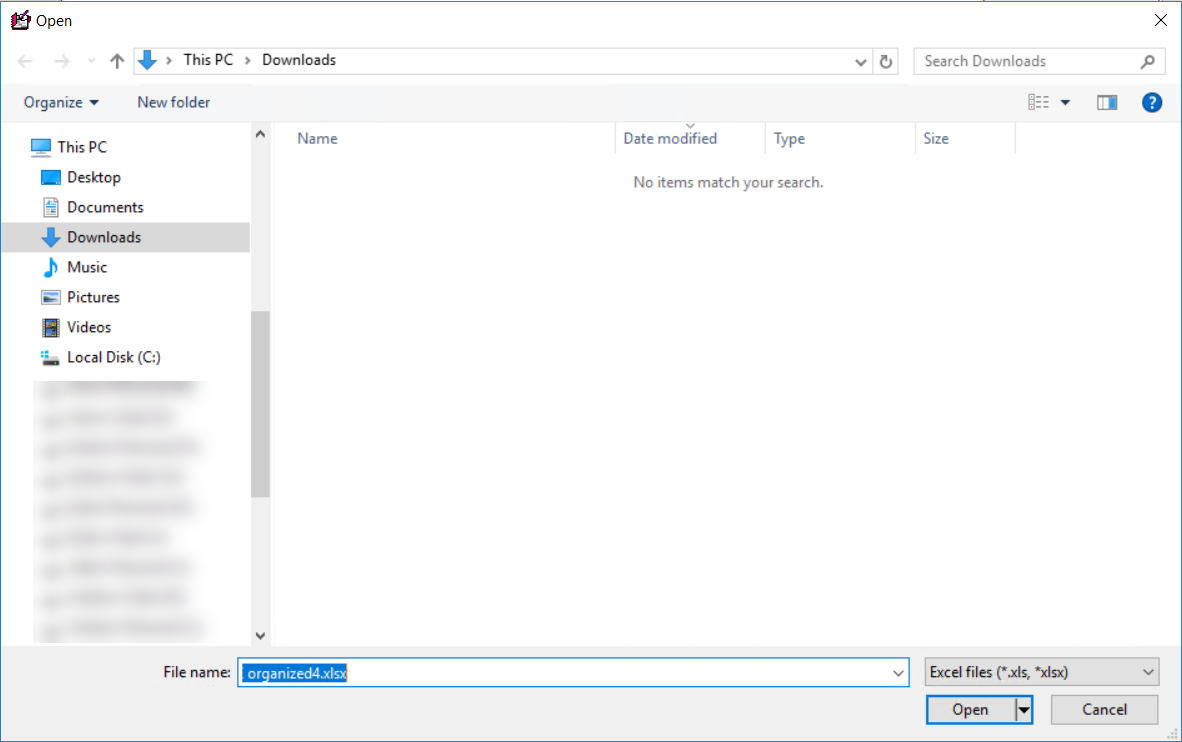
21. Please select the file from its saved location in the file explorer window that will appear.
Understanding the file structure
TIP! Each row lists a single part. If you have five of a part, there should be five rows with that information.
TIP! Please ensure your Excel-based spreadsheet is sorted by PART NUMBER!
To perform the Inventory Import, please prepare an Excel-based spreadsheet document with the inventory information you will import. The Excel document must be set up correctly. Here are some points to consider.
Each row lists a single part. If you have five of a part, there should be five rows with that information.
Quick tip for multiple entries:
After you enter the first row, please highlight it.
Look for a small black square in the bottom-left corner of the highlighted area.
Hover over it until your cursor becomes a + sign.
Click and drag down to copy the row as many times as needed.
List part numbers in a column.
List part descriptions in a column.
You can provide additional (not required) information in its column.
purchase invoice number
part cost
office bin location
truck bin location
retail price
make or brand
machine type
alternate number
applicable notes
quantity minimum for office storeroom
quantity per truck
Advice: While you can enter just part numbers, it's best to include as much information as possible now. It'll save you time later.
Why would you want to import your inventory?
Some clients delay using ServiceDesk's inventory control system. When they decide to start, they often make an Excel spreadsheet of their inventory first. While it's usually easier to add inventory directly into ServiceDesk, we now have a way to help those who've already created spreadsheets.

