Spec-tag management
Creating a spec-tag
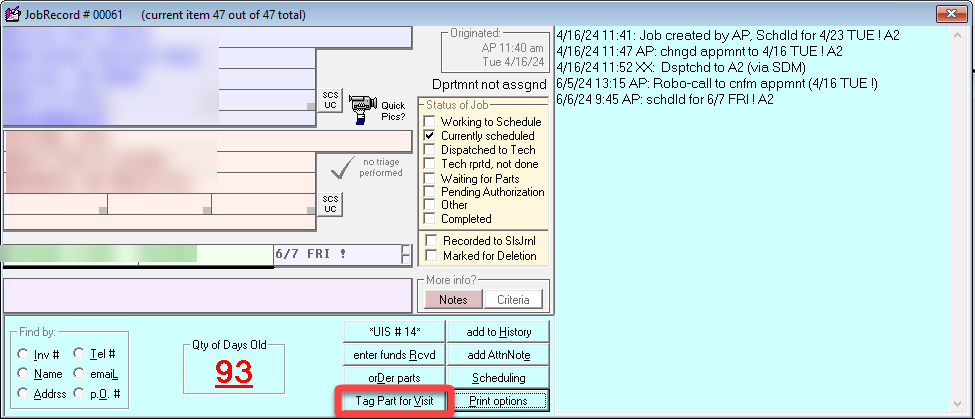
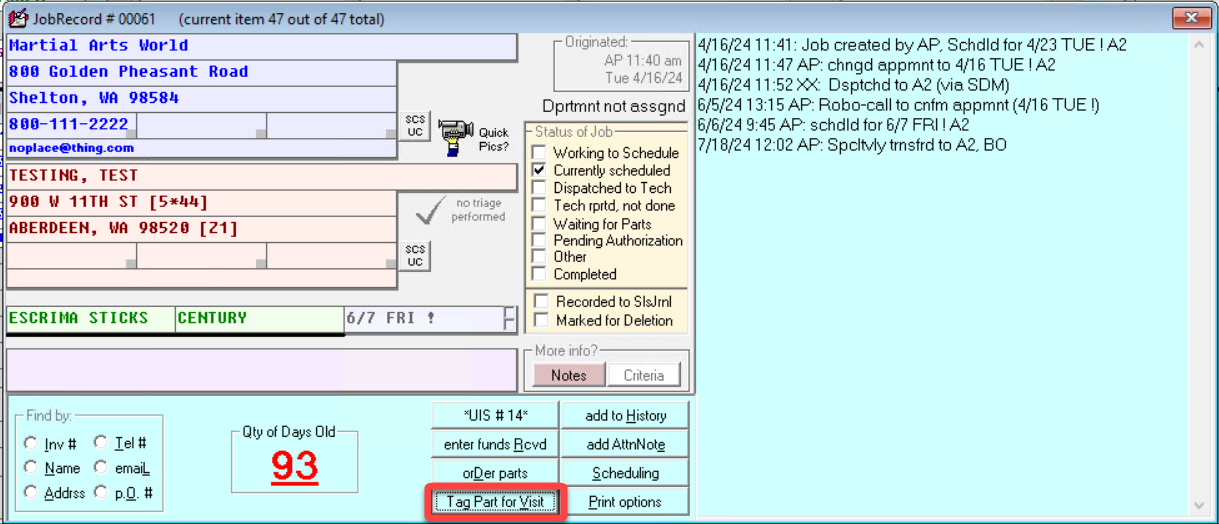
To create a spec-tag click on 'Tag Part for Visit' in the JobRecord.
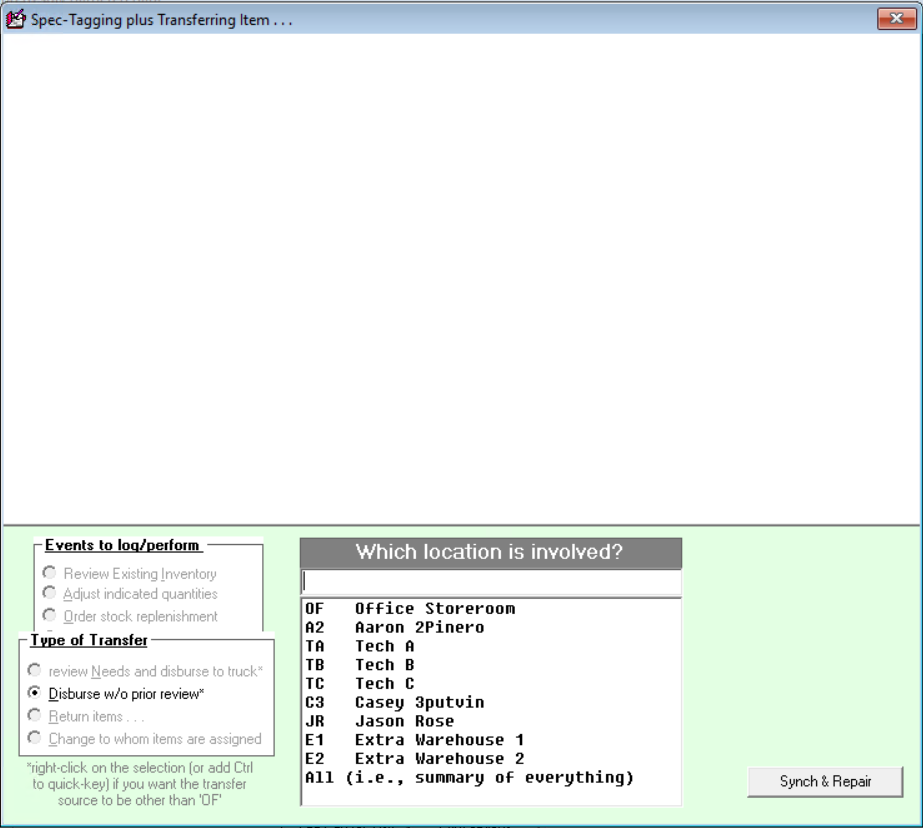
Make the appropriate selection.
If you are tagging the part for the job but leaving the part on the office shelf, choose option J.
If you are tagging the part and moving to the tech's inventory, choose option P.
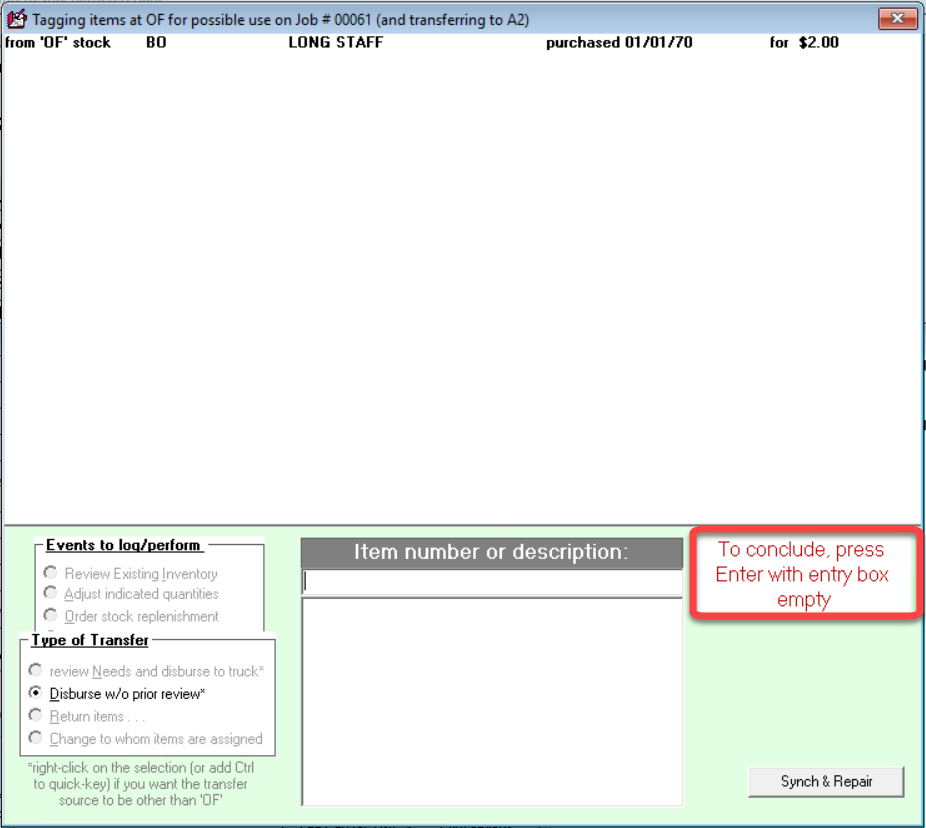
Select the location from which to tag the part.
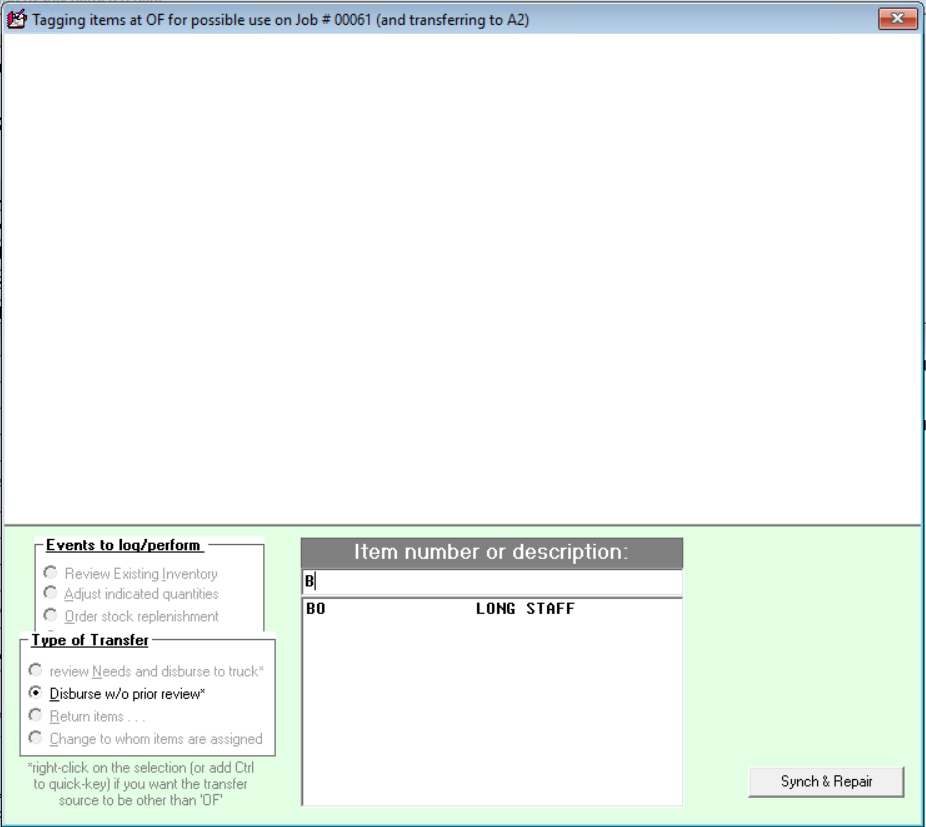
Select the part to tag for the job.
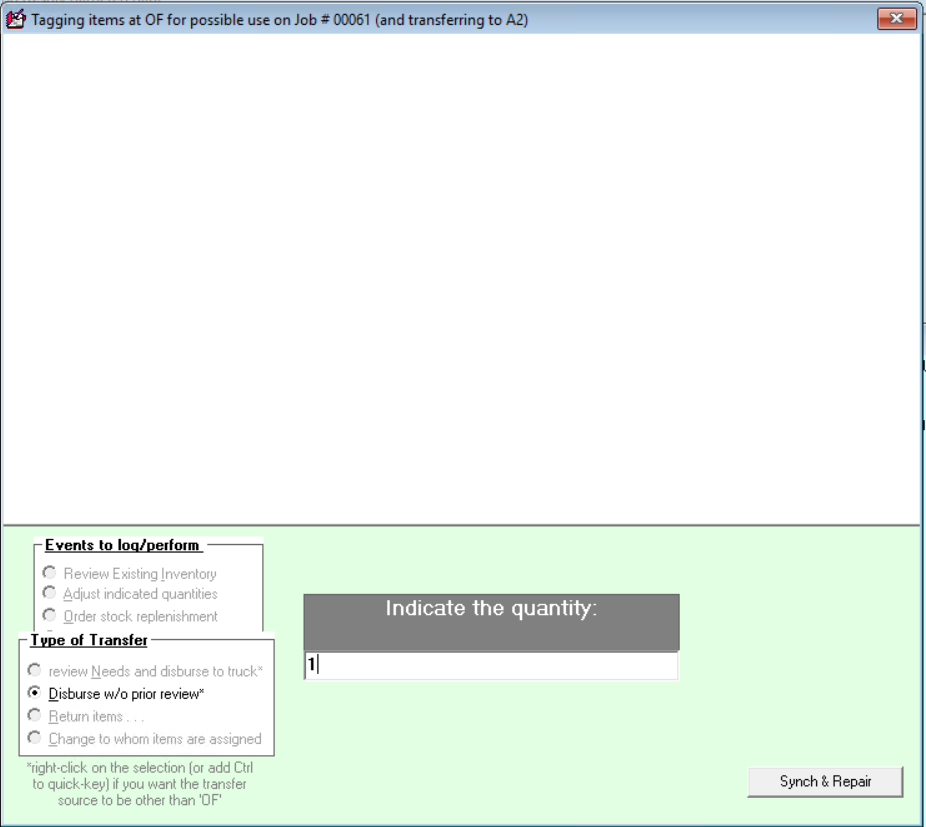
Indicate the quantity you are tagging for the job.
After tagging the desired parts, press ENTER to complete the process.
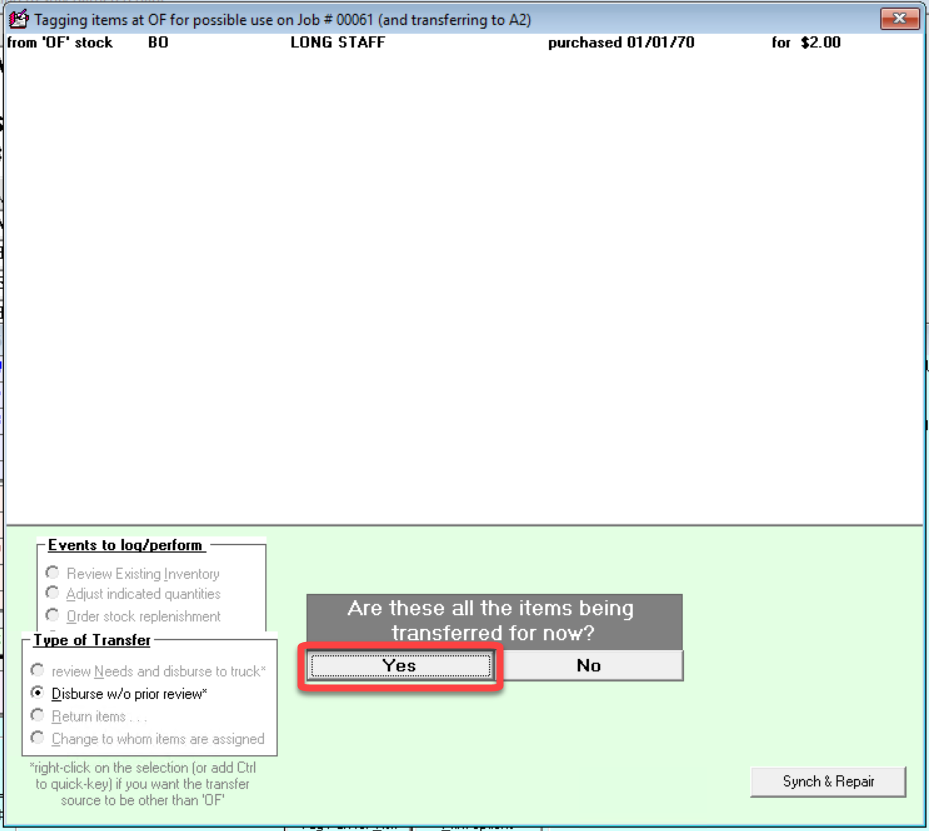
Select 'Yes' to finalize your entries.
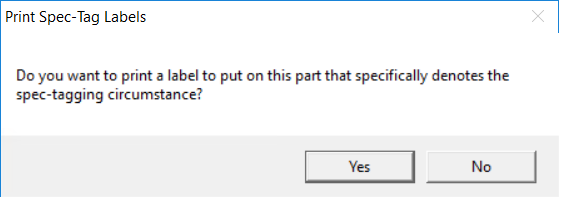
Choose whether or not to print a label.
All done!
Removing a spec-tag
From the JobRecord
Right-click on 'Tag Part for Visit.'
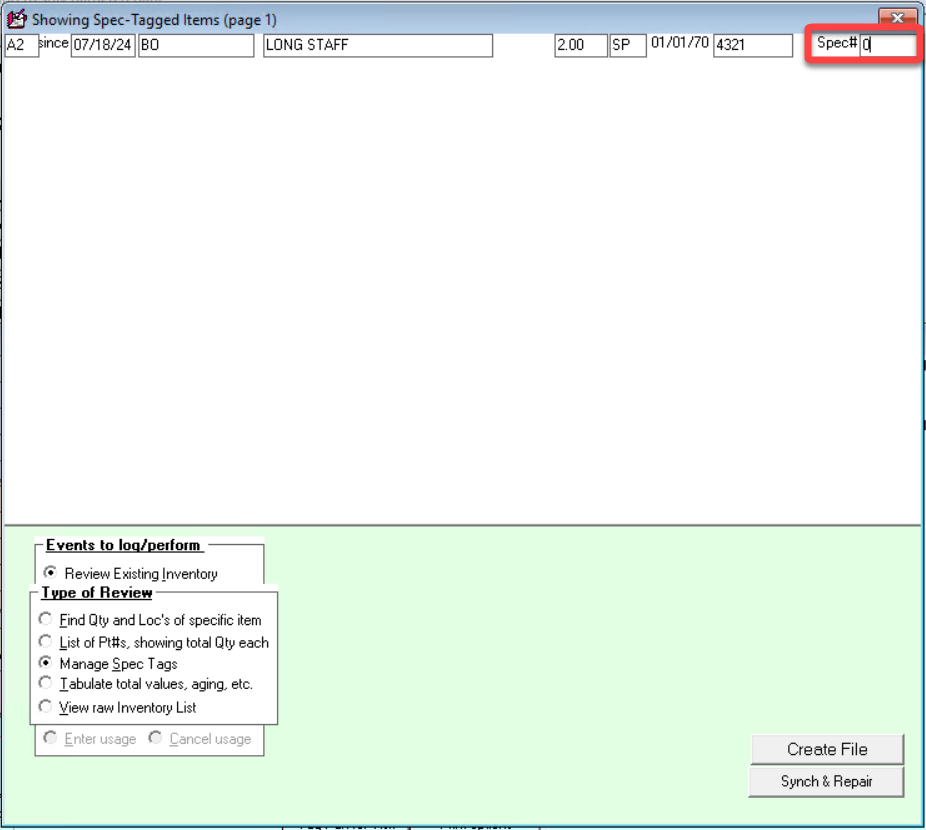
Left-click the Spec# in the righthand column.
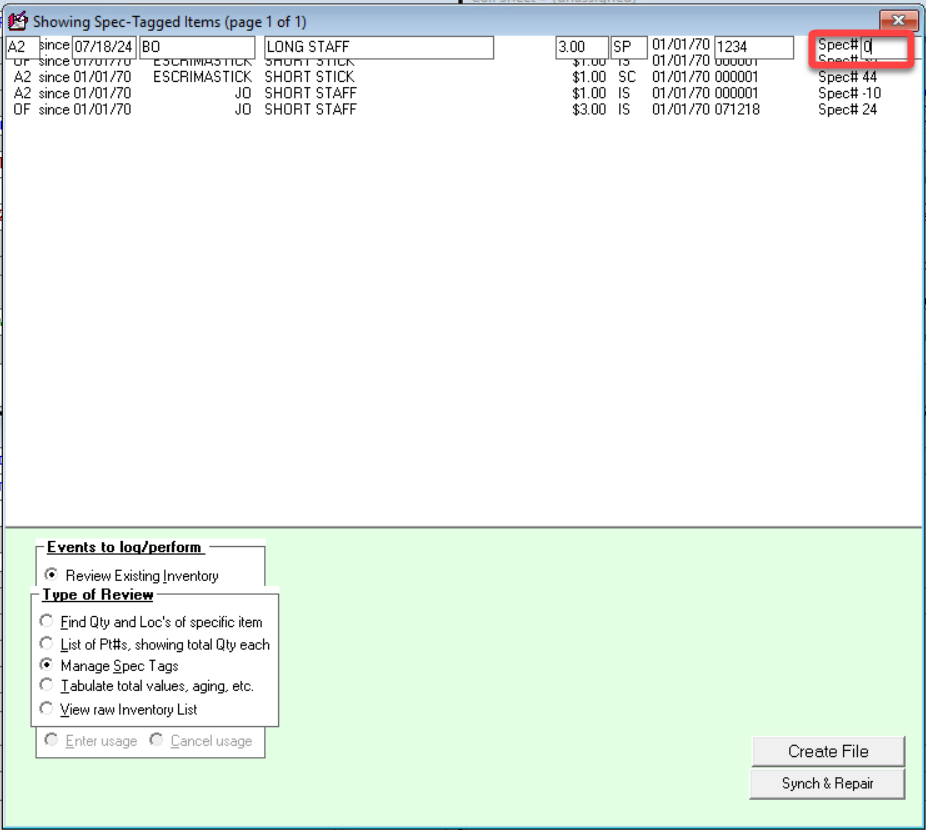
In the Spec# box, type "0" to remove the spec-tag.
Press ENTER to save your edits.
All done!
From the Inventory Control and Maintenance screen
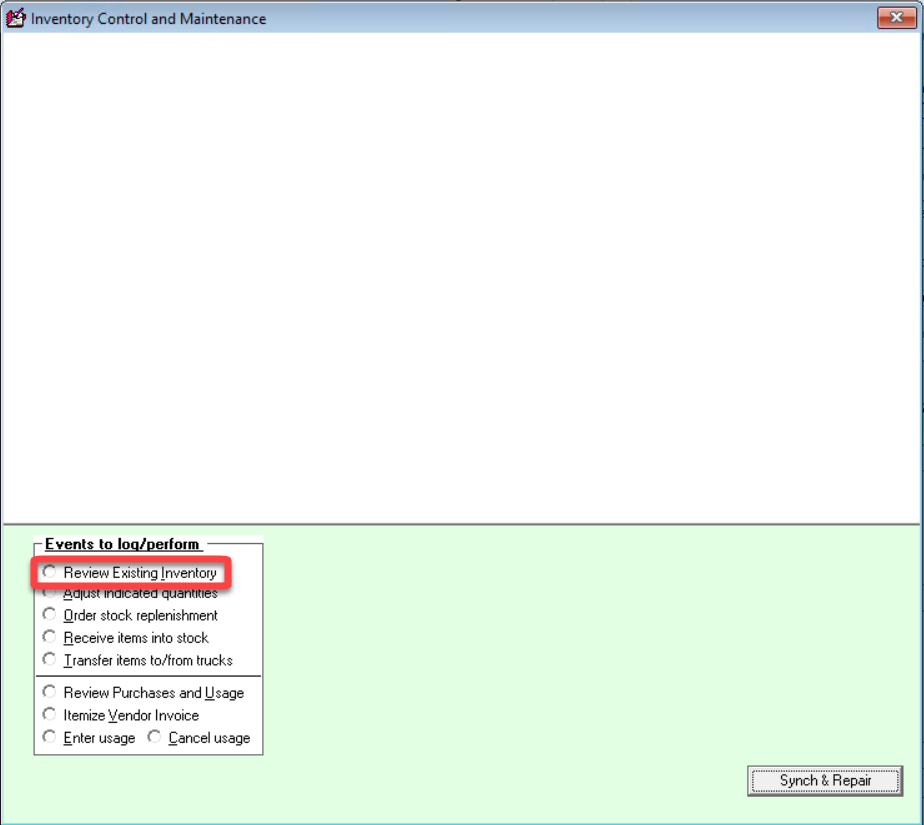
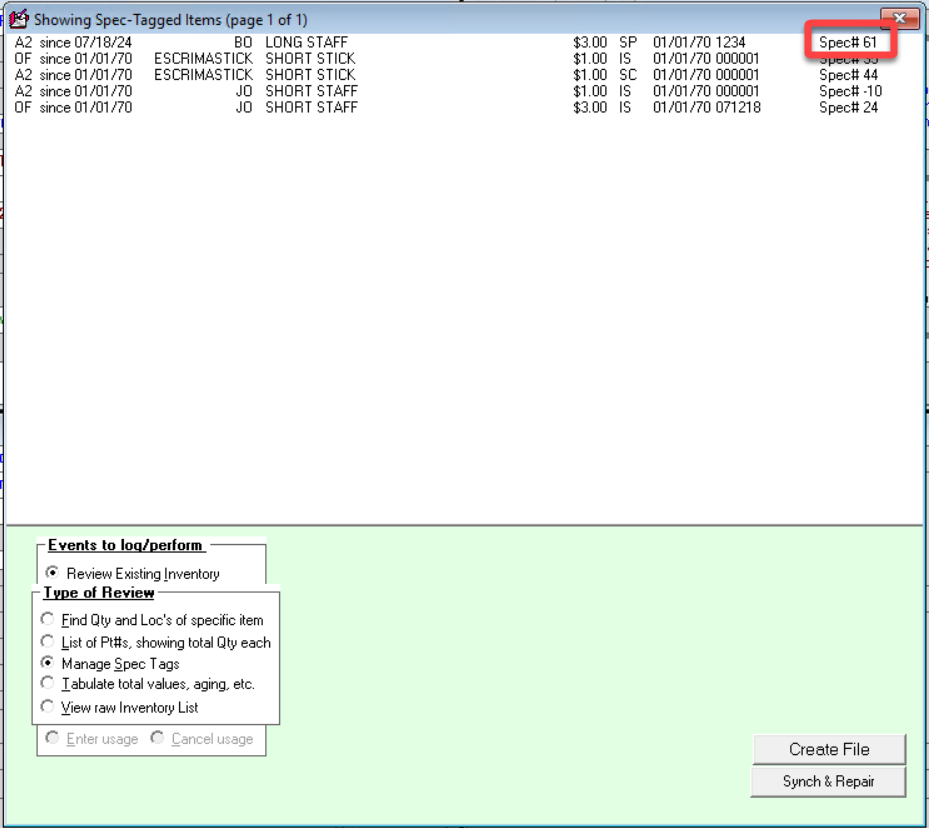
Press F10 to bring up the Inventory Control and Maintenance screen, then select 'Review Existing Inventory.'
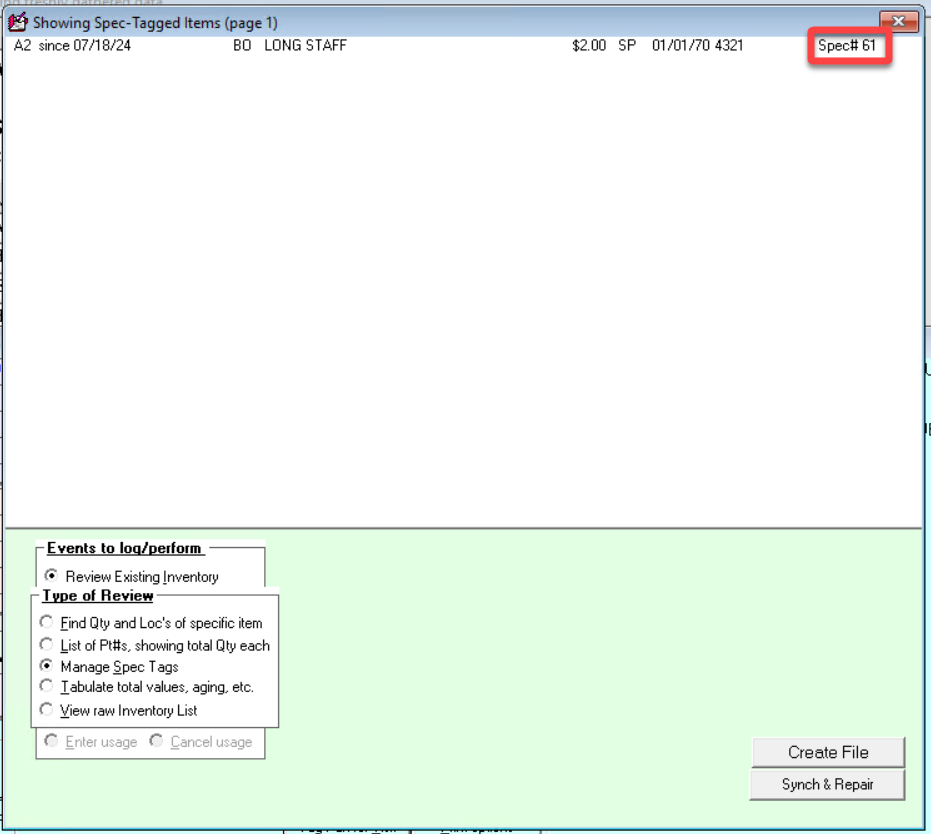
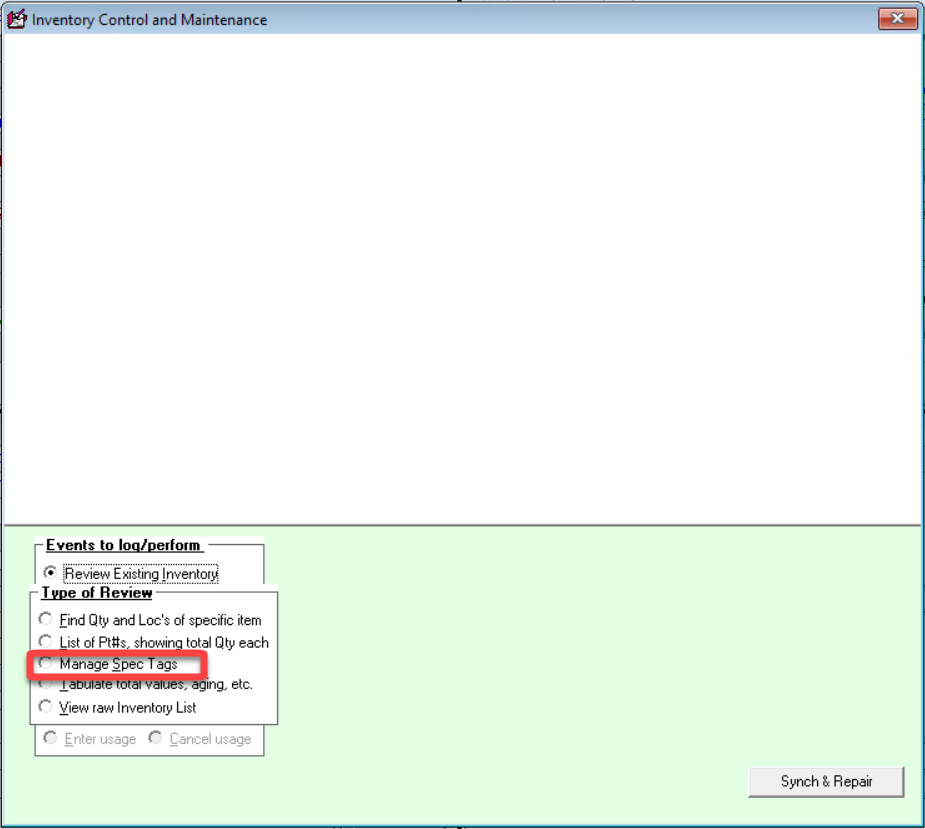
Select 'Manage spec tags."
Left-click the Spec# in the righthand column of the part you want to remove.
In the Spec# box, type "0" to remove the spec-tag.
Press ENTER to save your edits.
Repeat the steps for any other spec tags you want to remove.
All done!
Improved Visibility into Spec-Tagged Items
There is better visibility regarding what inventory items are spec-tagged, both from the inventory-management perspective and from the perspective of Job-Management (i.e., when looking at a JobRecord, there should be an easy means to see what's presently spec-tagged to it).
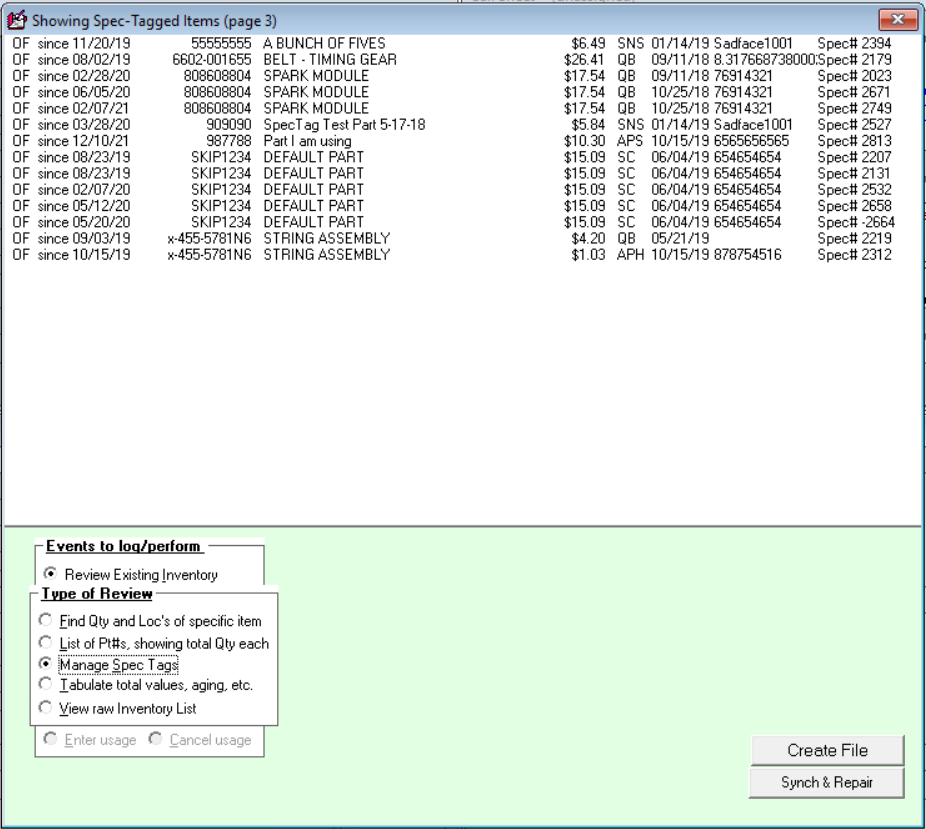
First, the InventoryControl form (F10) has a new display option:
This new option will list every inventory item that has a current spec tag. Thus, there is no need to peruse through the raw-View.
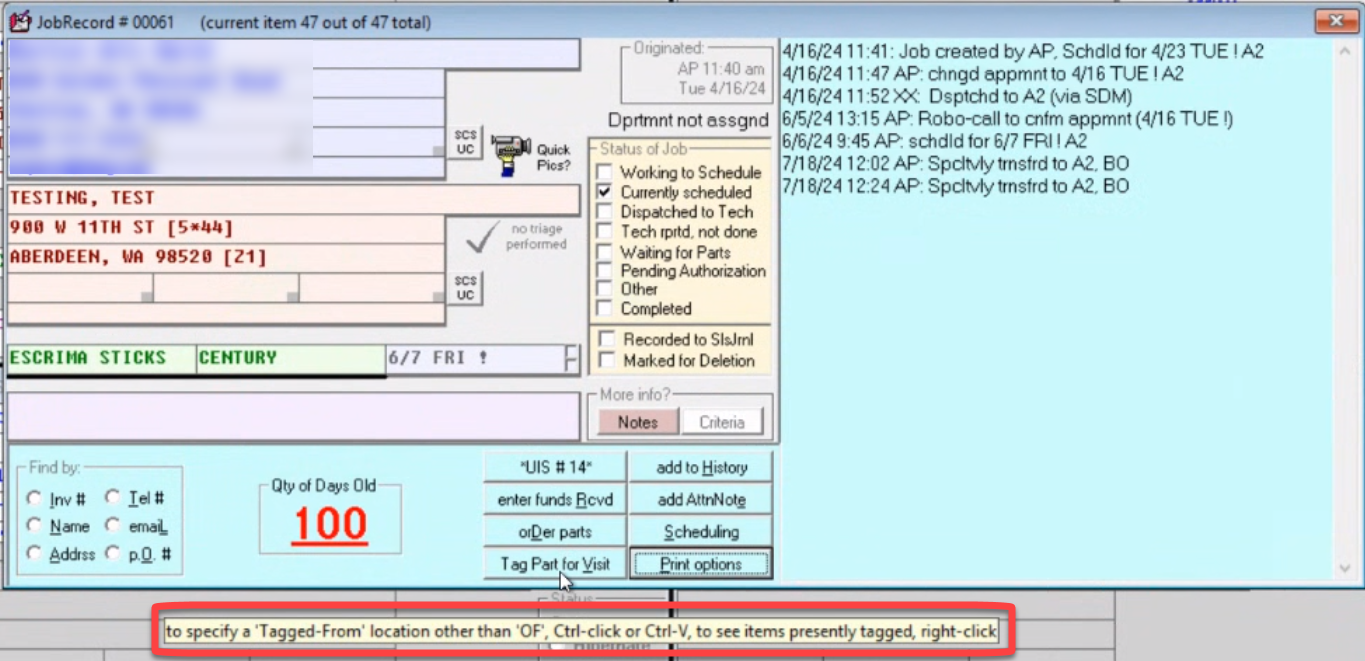
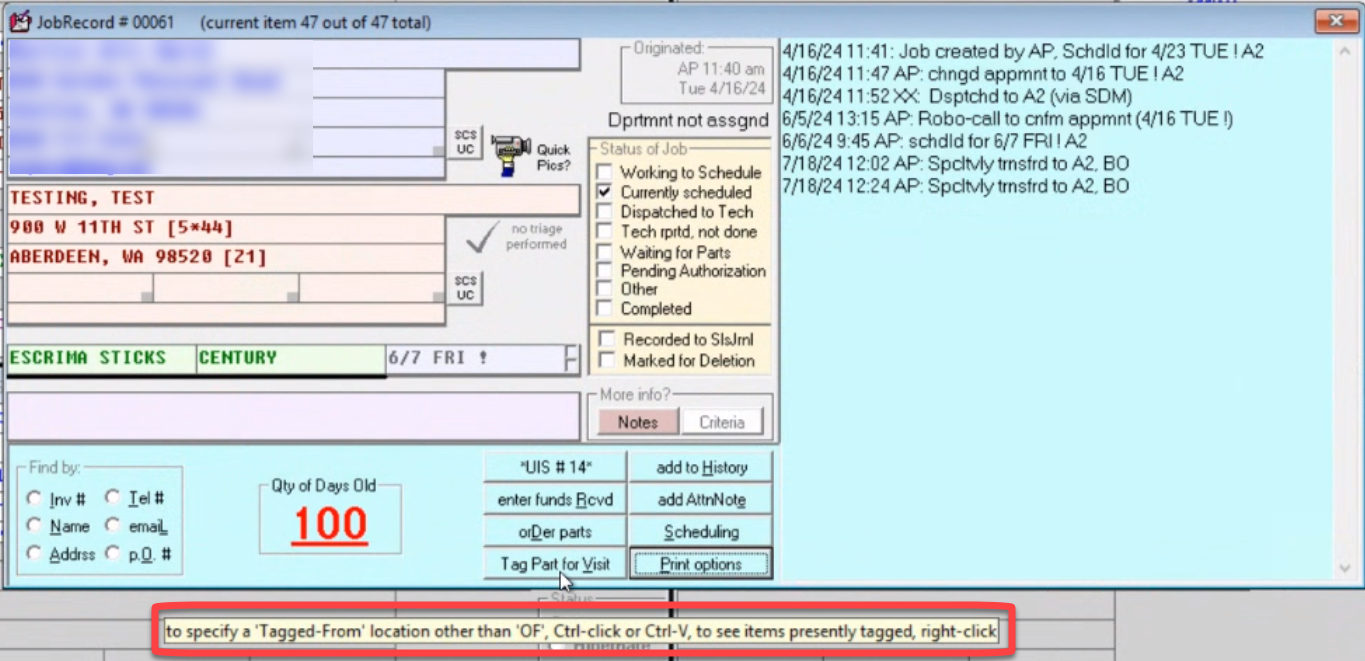
Secondarily, we added a new link-to-show function in the JobRecord form (F7). Reminder regarding availability of this function (and of its method) is obtained when you float your mousepointer over this form's "Tag-Part-for-Visit" button:
So, just as the ToolTip suggests, do a right-click if you want to see inventory items as presently tagged for that job. In result, the system will open your InventoryControl form, configured to show the new display (as described in the entry just above this one), but poised to list only such items as apply to the job from which you linked.
Accommodation in the Inventory System for Multiple Warehouse/StoreRooms
We added the capabilities in this manner because we did not want to slow down the more typical scenario by placing an added inquiry into it. As you can see from the above, if you want the source to be other than the standard "OF," just right-click to select the function (as opposed to what would otherwise be a normal left-click) -- or, if you're using the quick-key access method, hold down Ctrl while doing so. Either method tells ServiceDesk you want to designate other than "OF" as the source, and it will provide a dialog for you to indicate such other.
When speculatively-tagging items from stock for particular jobs, you may now indicate a source (for such tagged items) other than "OF." Suppose, for example, you have a second physical location (with its own inventory storeroom), and sub-set of techs who work from it. If you're spec-tagging parts for jobs those particular techs will be going on, you'll want to tag them to inventory as located at that secondary location, and not at your main one.
The contextual guide to use of this feature is provided in the F7 form (i.e., same context from which you initiate a spec-tag) via a Tooltip that arises when you float your mousepointer over its "Tag Part for Visit" button.
As you can see, the method to designate other-than-standard/assumed-location parallels what we just saw above. Do a right-click (as opposed to standard left-click) on the button, or modify the quick-key shortcut with Ctrl (please note that if you happen to have your Windows focus in a text box, the "Ctrl-V" quick-key method will be superseded as a Windows Insert command).
Spec-Tag Parts Labels
Printing the Spec-tag part label built into the spec-tagging process. Just do the normal process to create a spec-tag, and a dialog will ask if you want to print a spec-tag label. The label has some differences that fit the circumstance:
It turns out some users want to create these new labels in another place. In particular, they want to create them en masse from the (Ctrl/Shft-F8) PartsPick form -- and as applicable all at once to their whole roster of jobs and for the day selected, or at least as needed for a particular tech and day selected.
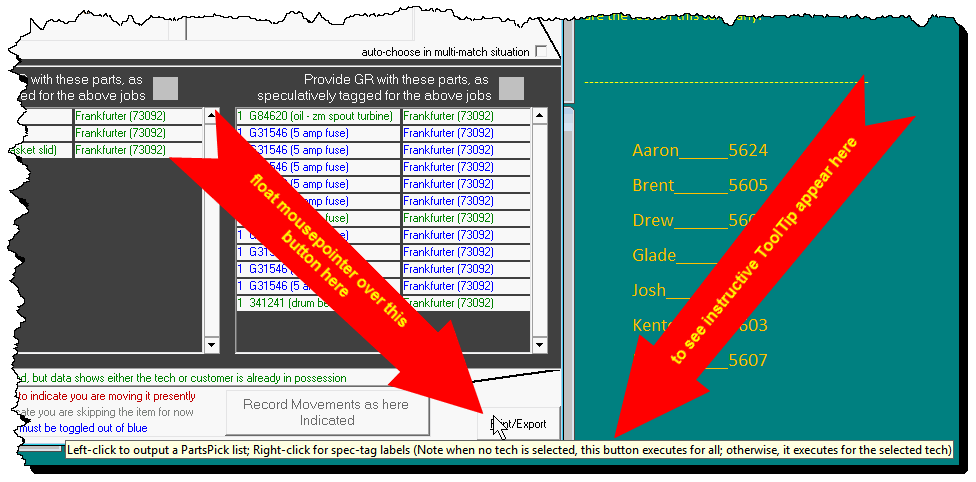
That option now exists. To see how to use it, just float your mouse pointer over that form's "Print/Export" button, as shown here:
As you can see, a ToolTip appears and tells you exactly what to do..
Reflagging an appointment
Made it so spec-tagging a part and checking in a s/o part re-flag an appointment for upload.
Tagged-Parts Disposition Added to In-Office Type-2 PVR
Specifically, quite early-on the Mobile PVR interface was engineered to show a tech items that had been spec-tagged for the job, and require they indicate whether they used them or not. If not, it requires that they indicate why not (just as the same as for special-order parts).
The in-office Type-2 PVR adds spec-tagged parts to the list box where it's prior requested a disposition on special-order parts. Thus, there is no need to enter usage of such items in the "Items used from Inventory" box. It should be done from the specific dispositions (PickList) box instead.
The Mobile mechanisms are and will remain where our first focus goes when it comes to interacting-with-the-tech's-work features. Regardless, there are still a number of users who've not gone to Mobile, and in a reasonable degree we want to keep the in-office alternatives up to snuff.
Items Anticipated for Future-Scheduled-Use Now Show for Retrieval in PartsPick Form
Your tech was out on a job with one or more special-ordered (or spec-tagged) parts. For whatever reason, they did not use one or more such parts. However, the job is not done; they are scheduled to go back on another visit, and they still anticipate using such parts on their next visit.
The system prompts in a special color for the circumstance (grey) to bring notice to the fact that, depending on your preference, you may or may not want to insist on getting such parts back at such time.
In the PartsPick Form's "Items-Expected-For-Retrieval-From-Tech" Window, Visual Distinction of Items Assigned to Jobs that Have Been Closed
When your techs go to their jobs each day, they should have two types of parts: (a) items for normal stocking on their truck, and (b) items for specific jobs on their schedule. The second type includes special-ordered and office inventory items for those jobs.
Techs don't always use every item in category (b).
It's important that unused items in this category come back to the office.
If they don't, you lose money on the missing items. Plus, techs' trucks get overloaded, increasing fuel use and wear and tear, costing you more money.
We want to prevent this for you.
That's why the first window in the PartsPick form (Ctrl/Shift-F8) lists items that should come back from each tech.
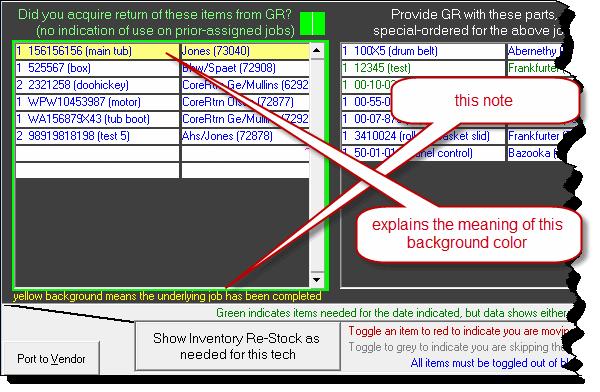
In that window, users wanted to see a visual distinction for items linked to closed-out jobs. They felt these items needed more attention. This new feature highlights those items with a yellow background, as shown here:
Many service companies lose a lot of money because they don't manage this well.

